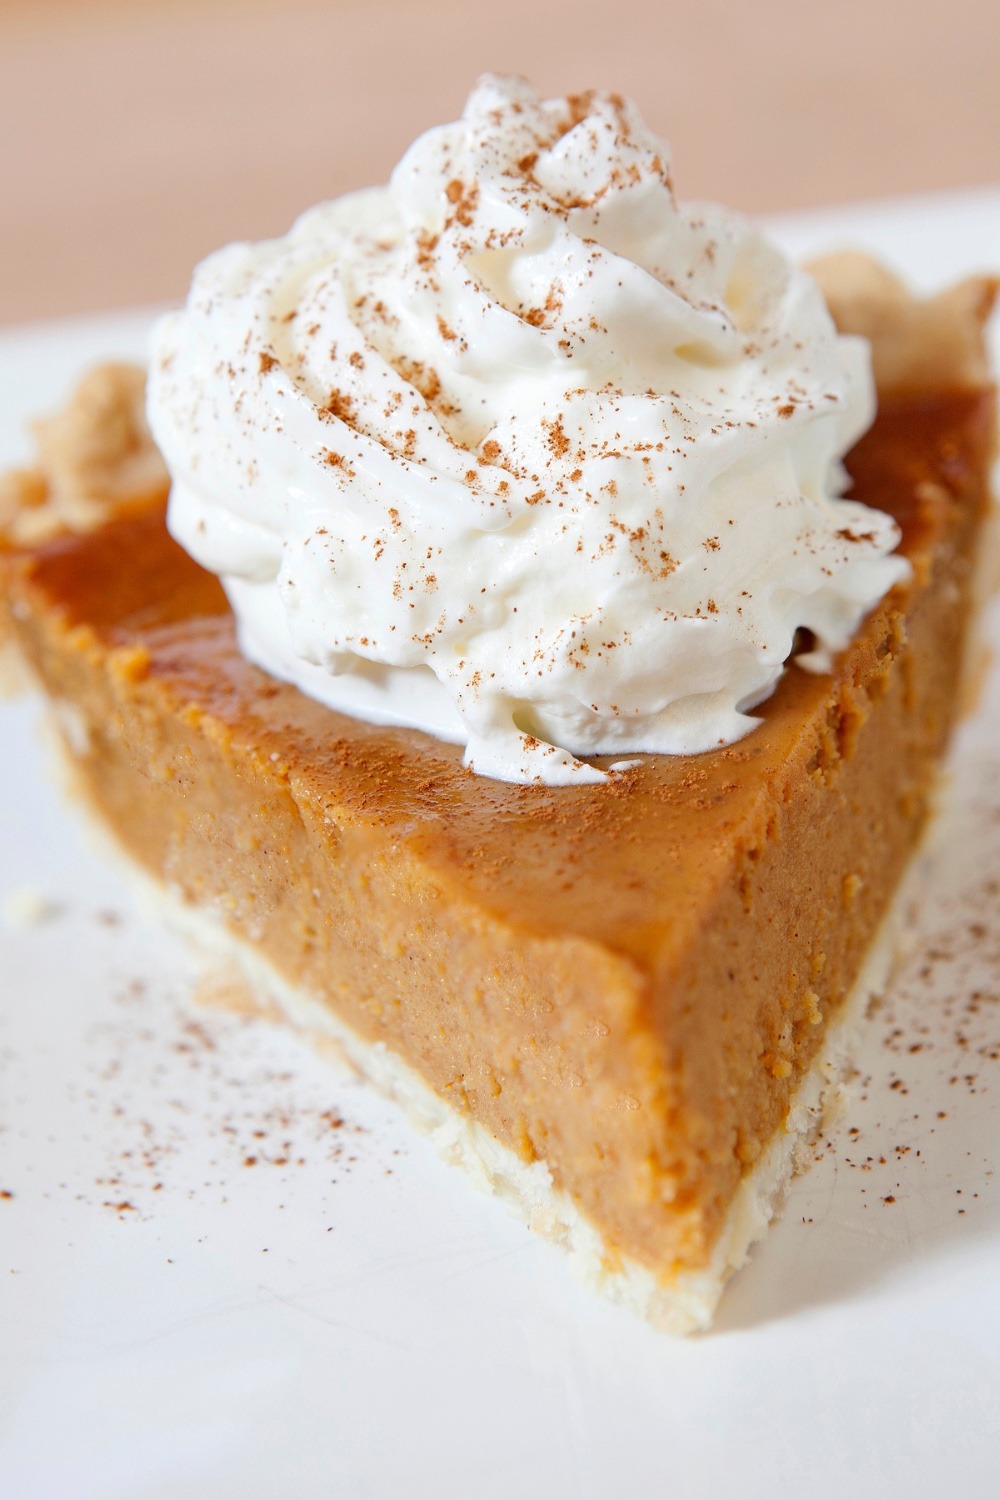
Pumpkin Pie

Whether enjoyed on its own or crowned with a dollop of freshly whipped cream, our homemade pumpkin pie is a delight that elevates the spirit of the season. Share the joy of autumn or winter with loved ones, savoring the time-honored flavors of this classic dessert that embodies the true essence of homemade goodness.
Traditionally I make pumpkin pie only around the holidays, Thanksgiving and Christmas for sure and sometimes even at Easter. Though not traditional, my family loves pumpkin pie and so any excuse to have a slice is good enough for them.
This pumpkin pie recipe is one that I have been making for many years and it is really a no fail recipe. I like to make a larger pie (or two) so I always double the 9″ pie recipe and I always bake mine in a glass pie plate. I don’t know why but I always seem to have better results with glass than with foil. If foil is all you have, by all means use it.
You can double the recipe if you have a deep dish pie plate (I do), so if I am using that one, then I need more filling than what is called for in a single recipe. You may also have to adjust the cooking time and increase it to account for the deeper filling. Using a knife will ensure the filling is cooked before you take the pie out of the oven. To test the doneness insert your knife about 2″ away from the crust and if it comes out clean it is done. The center of the pie should be almost set.
If you don’t have a good pastry recipe you can find mine here. It works perfectly every time.
Tips for the Best Pumpkin Pie:
- Always use an UNBAKED pie shell. Homemade is best, but a store bought pie crust will work as well.
- Always start the cooking of the pie at a higher temperature (this ensures the bottom crust gets properly cooked), then reduce the temperature after the first 15 minutes and continue cooking until the pie is done.
- Use a Knife, inserted about 2″ from the crust, to tell if the pie is done. A little jiggle in the center is okay, but if it jiggles a lot, cook it for longer. You don’t want an underbaked filling.
- You Also DO NOT want an overbaked pie. Overbaking will cause the filling to crack, as will rushing the cooling process. Allow it to cool completely at room temperature, then put in the refrigerator until you are ready to serve it.
- Refrigerate leftover pumpkin pie within 2 hours of serving it.
- Pumpkin pie can be cooked then frozen for up to 3 months. Once cool, wrap well with plastic wrap then freeze. To thaw, place the pie in the refrigerator overnight, then serve the next day.

Pumpkin Pie
Equipment
- 1 9 or 10" Pie Crust Store bought or Make your own
Ingredients
For a 9" Pie
- 2 large Eggs
- ¾ cup Sugar
- 1 16 oz Can, pumpkin (not pumpkin pie filling)
- 1 12 oz Evaporated Milk
- 1 tsp Ground Cinnamon
- ½ tsp Salt
- ½ tsp Ground Ginger
- ¼ tsp Ground Cloves
For a 10" Pie
- 3 large eggs
- 1 cup Sugar
- 2¾ cups canned pumpkin
- 2¼ cups evaporated milk
- 1½ tsp ground cinnamon
- ¾ tsp salt
- ¾ tsp ground ginger
- ½ tsp ground cloves
For Sweetened Whipped Cream (1½ cup yield)
- ¾ cup Chilled, heavy whipping cream
- 2 Tbsp confectioners or granulated sugar
Instructions
- Preheat the oven to 425℉
- Prepare your favorite pastry or buy one (link to my pie crust recipe is above)
- In a bowl, beat eggs slightly with a hand blender, one at a time beat in all remaining ingredients.
- Place pastry lined pie plate on oven rack: pour in the filling.
- Bake for 15 minutes
- After 15 minutes, reduce the oven temperature to 350℉ and continue baking for 45 minutes for a 9" pie, or 55 minutes for a 10" Pie, until a knife inserted into the center comes out clean.
- Remove from oven, when done let cool. Refrigerate once it is cool until you are ready to serve it. At least 4 hours.
- Serve with Sweetened Whipped Cream, if desired
Sweetened Whipped Cream
- Beat the chilled whipping cream and sugar in a bowl until stiff. Using a chilled bowl helps. Top each slice of pie with a dollop of whipped Cream just before serving.
