Pie Crust
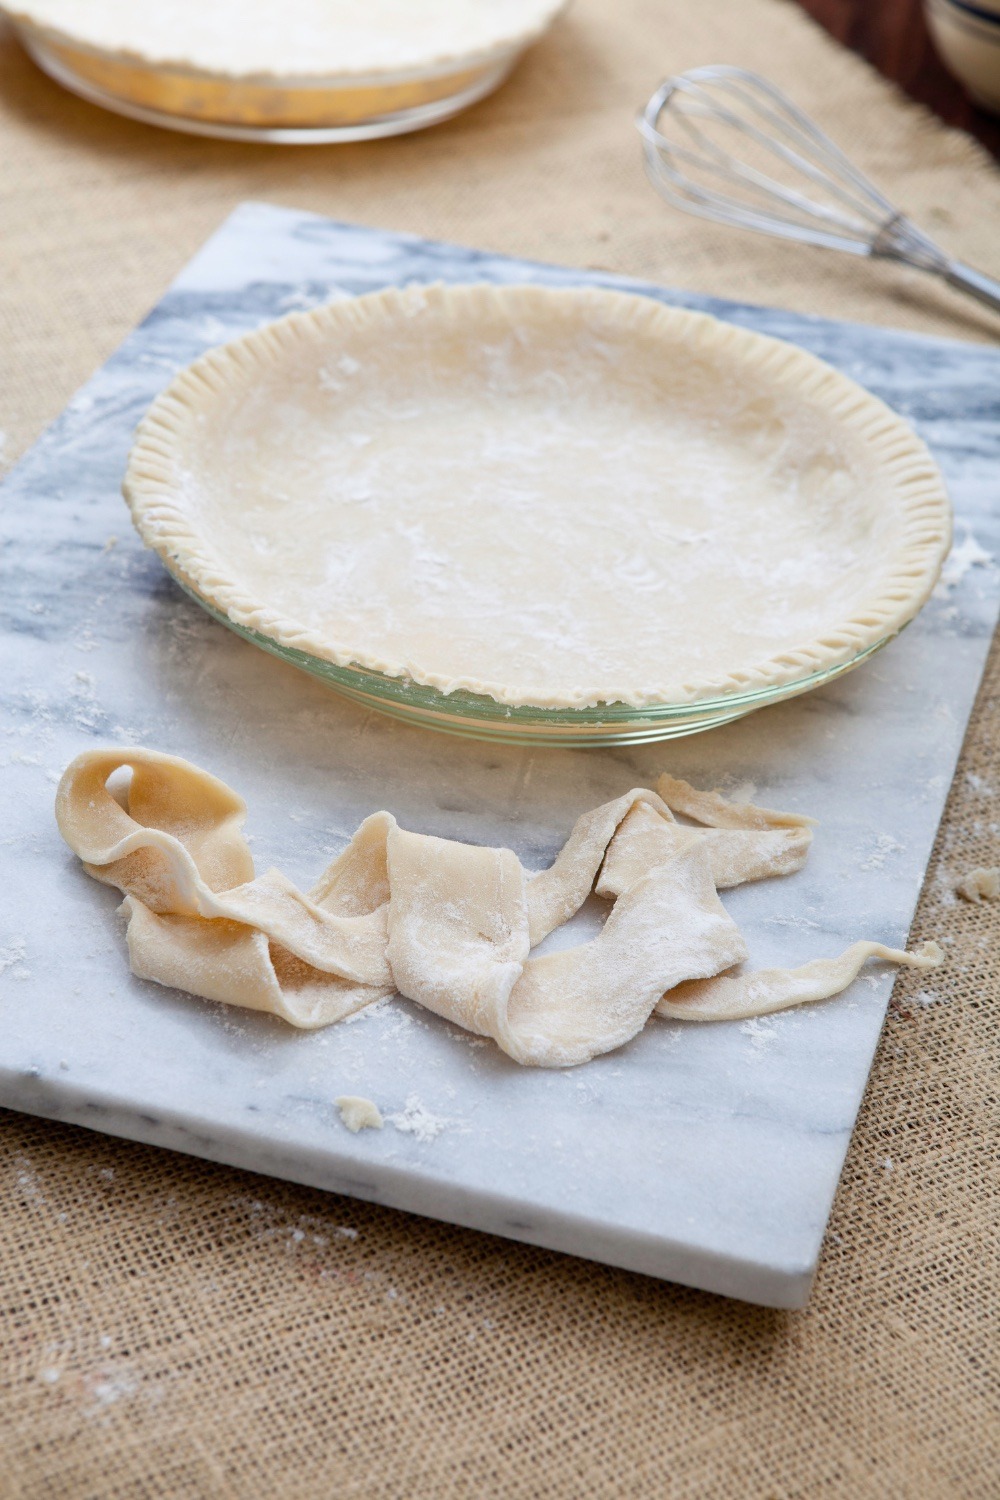
There’s something magical about the perfect pie crust – golden, flaky, and tender, it’s the foundation of many beloved desserts. Whether you’re a seasoned baker or a novice in the kitchen, mastering the art of creating the ideal pie crust is a rewarding endeavor.
This is a recipe that can be adjusted depending on how much pastry you need. One crust, two crusts, four crusts… It’s easily adaptable and turns out great. Follow a few tried and true tricks for make it perfectly every time. This crust uses shortening but you can substitute lard if you prefer or a combination as I have shown.
I love the Tenderflake pie crust recipe which is made with pure lard and its the recipe I use when I am making large batches of pie crusts. For a single I find this recipe works well. If you want the large batch recipe with lard you can find my Tenderflake pie crust recipe here. It uses Tenderflake brand pure lard and I won’t apologize for that…the crusts speak for themselves.
Unlock the Secrets to the Perfect Pie Crust: Expert Tips and Tricks:
- To make a perfect pie, use the right bakeware. Choose heat-resistant glass pie plates or dull finish (anodized) aluminum pans. Shiny pans will result in an under-baked bottom crust.
- Cut in the shortening- If you don’t have a pastry cutter, then two knives with the blades almost touching each other, move them back and forth in opposite directions in a parallel cutting motion.
- Wrap the dough in plastic wrap and refrigerate for at least 30 minutes. This allows the fats to solidify and the dough to relax.
- To prevent an unbaked (unfilled) pie shell from puffing when you bake it, prick it with a fork thoroughly once it’s in the pie plate, or use pie weights on top of a piece of parchment paper for Blind Baking.
- Rub your rolling pin with flour as well as the surface you are rolling on. This will prevent the dough from sticking.
- For a beautiful looking crust, brush it with milk before baking. You can also moisten it with water then sprinkle a little sugar (for a sweet pie). Alternatively you can brush the crust lightly with a beaten egg or an egg yolk mixed with a little water.
- Roll pastry from the center outward for an even crust, to your desired thickness.
Pie Crust
Equipment
- 1 10" pie plate
Ingredients
- ½ cup shortening or ¼ cup plus 3 Tbsp lard
- 1⅓ cup all-purpose flour
- ½ tsp salt
- 3-4 Tbsp Ice cold water
Instructions
- In a bowl, combine flour and salt, cut shortening in until the pieces are the size of small peas. You can use a pastry cutter, two knives, or your fingers.
- Slowly sprinkle in the water 1 Tbsp at a time and tossing with a fork until all of the flour is moistened and the pastry almost cleans the side of the bowl (add up to an additional 2 tsp of water IF NECESSARY)
- Gather the pastry into a ball then shape into a flatteded round disk on a lightly floured surface. Let rest for 15 minutes in the refrigerator.
- Roll pastry out to a circle that is about 2" larger than the pie plate (inverted) is using a floured rolling pin on a lightly floured surface, or parchment paper.
- Fold the pastry into fourths: easy into the pie plate and gently Unfold, pressing the pastry firmly against the bottom and side.
- Trim the overhanging edge of the pastry 1" from the rim of the plate (larger) Fold and roll the pastry under, even with the plate and flute with your fingers or crimp with a fork if desired.
- Fill and bake as directed in your recipe for an unbaked pie shell
For a Baked Pie Shell:
- Heat oven to 475℉. Prick the bottom and side thoroughly with a fork. Bake until light brown, 8-10 minutes. (alternatively you can use pie weights and parchment paper)
For a Two-Crust Pie:
- Turn desired filling into pastry-lined pie plate. Trim overhang ½" from rim of the plate. Roll the second round of pastry, fold into quarters, cut slits for steam to escape, then place over filling and unfold.
- Trim overhang 1" from rim of pie plate. Fold and roll top edge under the bottom edge (crust), pressing on the rim to seal: flute edges together.
- When baking a fluted edge pie, you may need to cover the edge with a strip of aluminum foil to prevent burning: remove foil for the last 15 minutes of baking. Bake as directed.
Notes
Try these hints too:
- Cold is Key:
- Keep everything as cold as possible – the colder the ingredients, the flakier the crust.
- Don’t Overwork the Dough:
- Overworking the dough can result in a tough crust. Handle it gently, and stop as soon as it comes together.
- Experiment with Flavors:
- Try adding a teaspoon of vanilla extract or a pinch of cinnamon to the dough for added flavor.
1 Comments
Pumpkin Pie – Mum Grub
October 10, 2023 at 4:53 pm
[…] you don’t have a good pastry recipe you can find mine here. It works perfectly every […]
Comments are closed.