Lemon Curd
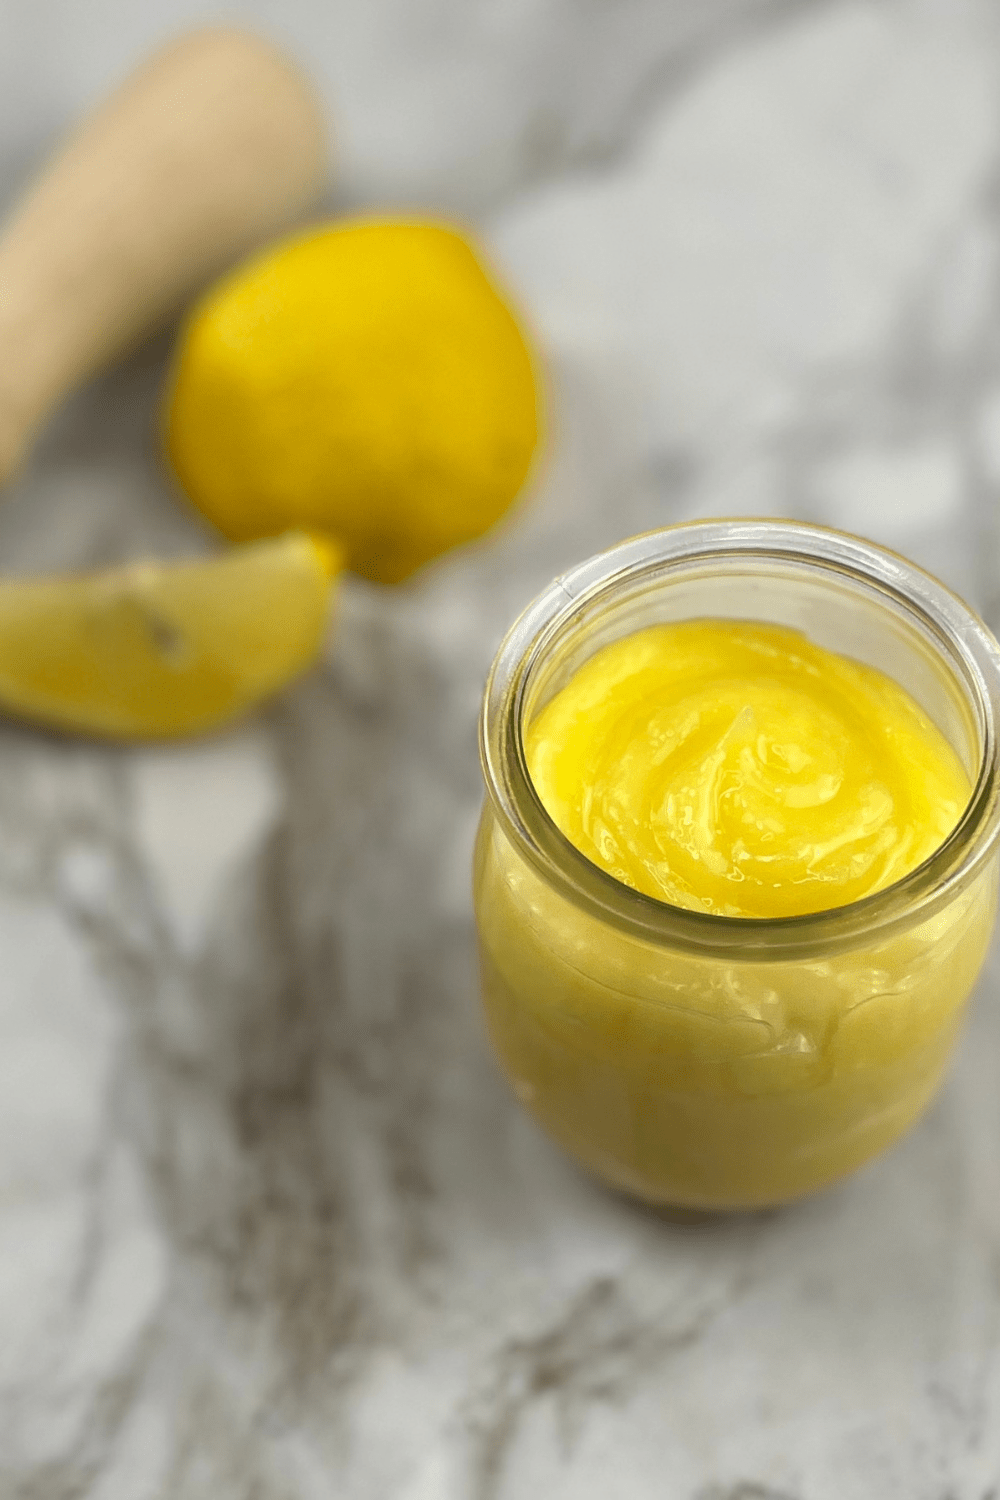
If you’re craving the bright and zesty flavor of lemon curd but don’t want to spend hours in the kitchen, this 5-ingredient lemon curd recipe is your answer. With just a handful of basic ingredients, you can whip up a batch of this creamy, tangy delight in no time. Whether you want to spread it on toast, dollop it onto scones, or use it as a filling for cakes and tarts, this recipe will be your go-to for that burst of citrusy goodness.
This 5-ingredient lemon curd recipe simplifies the process without compromising on flavor. It’s perfect for both beginners and experienced bakers looking to add a touch of sunshine to their creations.
If you would like to know what kitchen essential tools I have used in this recipe, you can find the links to them below.
This post contains links to products, as an amazon associate, I may earn from qualifying purchases at no extra cost to you.
Lemon Curd
Equipment
- 1 double boiler
Ingredients
- 8 large egg yolks (about ½ cup)
- 1⅓ cup granulated sugar
- 2 Tbsp lemon zest
- ⅔ cup lemon juice (freshly squeezed) about 2-3 lemons Strain to remove pulp and seeds
- ¼ tsp salt (if using unsalted butter)
- 12 Tbsp Butter, room temperature, sliced into pieces if using salted butter, omit salt above
Instructions
- Start by washing and thoroughly drying the lemons. Zest all of the lemons to yield about 2 tablespoons of lemon zest. Then, juice the lemons to extract approximately ⅔ cup of fresh lemon juice. Make sure to strain the juice to remove any seeds or pulp.
- In a heatproof bowl, preferably stainless steel or glass, whisk together the lemon zest, lemon juice, sugar, eggs, and a pinch of salt (if using) until well combined.
- Set up a double boiler by placing a saucepan with a few inches of water on the stove over medium-high heat. Once the water starts simmering, reduce the heat to low and place the bowl with the lemon mixture on top, ensuring that the bottom of the bowl doesn't touch the simmering water. This indirect heat will gently cook the curd.
- Using a silicone whisk, cook the lemon mixture while whisking constantly. The curd will thicken as it heats up, which should take about 10-15 minutes. Be patient and maintain a low simmer to avoid scrambling the eggs. The curd should be thick like a hollandaise sauce. (if the curd isn't thickening, turn the heat up while whisking constantly, watching carefully).
- Once the curd has thickened and coats the back of a spoon, remove the bowl from the heat. Add the butter one piece at a time and whisk until it's fully melted and incorporated into the curd, resulting in a silky-smooth texture.
- Cover the curd with a piece of plastic wrap (let it touch to prevent a skin from forming). Let the lemon curd cool for a few minutes in the bowl before transferring it to a clean jar or airtight container. Seal it and refrigerate for at least an hour to allow it to set and cool further.
- The curd will last in the refrigerator for up to 10 days.
Your homemade lemon curd is now ready to use! Spread it on toast, use it as a filling for pastries, cakes, or tarts, or drizzle it over ice cream for a delightful burst of lemony goodness.
Tips and Tricks for a perfect Lemon Curd:
- Choose Fresh, Ripe Lemons: Select lemons that are firm and have a bright yellow color. The fresher the lemons, the more vibrant the flavor of your lemon curd will be.
- Zest Before Juicing: Always zest your lemons before juicing them. It’s easier to zest whole lemons, and you’ll get more zest without wasting any juice.
- Use a Double Boiler: Employ a double boiler or a heatproof bowl over a saucepan with simmering water to cook the lemon curd. This gentle, indirect heat prevents the eggs from curdling and ensures a smooth consistency.
- Whisk Constantly: Whisk the lemon juice, zest, sugar, eggs, and a pinch of salt together thoroughly before heating. Once on the double boiler, continue whisking constantly until the mixture thickens. Do not stop whisking to avoid lumps and uneven cooking.
- Strain the Mixture: After cooking, strain the lemon curd through a fine-mesh sieve or strainer to remove any bits of cooked egg or lemon zest. This step ensures a silky-smooth texture.
- Butter for Creaminess: Add butter to your lemon curd once it’s off the heat. The butter not only enhances the flavor but also contributes to a rich, creamy consistency.
- Cool Before Storing: Allow the lemon curd to cool slightly in the bowl before transferring it to a jar or airtight container. This helps prevent condensation from forming inside the container, which can lead to spoilage.
- Refrigerate Promptly: Store your lemon curd in the refrigerator for freshness and longevity. It can last for up to 10 days when properly refrigerated.
- Cover the Surface: To prevent a skin from forming on the surface of your lemon curd, press a piece of plastic wrap directly onto the curd before sealing the container.
- Customize the Sweetness: Adjust the amount of sugar to your taste. If you prefer a more tart lemon curd, reduce the sugar slightly. Conversely, if you want it sweeter, add a bit more sugar.
- Experiment with Variations: Don’t hesitate to get creative with your lemon curd. You can add a touch of vanilla extract, lavender, or other complementary flavors for a unique twist.
- Use Quality Ingredients: High-quality ingredients, especially fresh lemons and real butter, make a significant difference in the taste and texture of your lemon curd.
By following these tips, you’ll master the art of making perfect lemon curd, whether you’re a seasoned baker or a novice in the kitchen. Enjoy the delightful burst of citrus flavor in your favorite recipes!
Freezing your Lemon Curd:
Freezing Instructions: For longer storage, you can freeze the curd up to 3–6 months. Thaw in the refrigerator overnight before enjoying.
Freezing lemon curd is a great way to extend its shelf life and enjoy that delightful citrusy flavor whenever you desire. Here are step-by-step instructions for freezing lemon curd:
- Cool the Lemon Curd: After making your lemon curd, allow it to cool to room temperature in the container or jar you plan to freeze it in. It’s essential that the curd cools completely to prevent condensation and ice crystals from forming during freezing.
- Prepare the Container: Choose an airtight, freezer-safe container or jar. Make sure it’s clean and dry. It should have enough space to allow for a small amount of expansion as the curd freezes.
- Portion the Curd (Optional): If you’d like to use smaller portions of lemon curd in the future, consider dividing it into smaller containers or using ice cube trays. This makes it easier to thaw only the amount you need at a time.
- Seal and Label: Seal the container tightly to prevent any air from entering. Label the container with the date of freezing so you can keep track of its freshness. If you’re using smaller portions, note the quantity in each container.
- Freeze Properly: Place the sealed container in the coldest part of your freezer, typically towards the back. Make sure it’s positioned in a way that it won’t be disturbed or tipped over. The ideal temperature for freezing is 0°F (-18°C) or lower.
- Thawing Lemon Curd: When you’re ready to use the frozen lemon curd, here are a few methods to consider for thawing:
- Refrigerator Method: Transfer the container from the freezer to the refrigerator and let it thaw slowly. This method can take several hours or overnight, depending on the amount of curd.
- Room Temperature Method: For a quicker thaw, place the sealed container at room temperature for about 1-2 hours. Stir the curd occasionally as it softens.
- Microwave Method (for small portions): If you’re in a hurry, you can microwave small portions of frozen lemon curd in 10-15 second intervals, stirring between each interval until it reaches the desired consistency. Be cautious not to overheat or cook the curd.
- Check for Consistency: Once thawed, check the consistency of the lemon curd. If it seems separated or too thick, give it a good stir to smooth it out. It should regain its creamy texture.
- Use and Enjoy: Your thawed lemon curd is ready to be used in your favorite recipes. Spread it on toast, use it as a cake filling, or enjoy it as a topping for desserts.
Frozen lemon curd can be stored in the freezer for up to 6-12 months without significant loss of quality, but for the best flavor, it’s recommended to use it within the first few months after freezing.